Livestreams Setup
Livestreaming Introduction
Livestreaming allows you to broadcast your live content using the same glomex environment (player, configurations, content restrictions, etc.) as you use for regular VOD (video-on-demand) videos. Under the hood, the livestreams are powered by AWS MediaLive . This service provides scalable, reliable, and secure live video processing. For more details about AWS MediaLive rules and limitations, refer to the AWS MediaLive Feature Rules and Limits documentation.
Livestream Connection Management
A Livestream Connection is an input for livestream that can be used for multiple livestreams. There is only one restriction - the schedule of livestreams should not overlap for the same livestream connection. Otherwise, you will get an error when attempting to save a livestream.
Available Livestream Connection Types
Currently, we provide six possible types of livestream connections:
HLS Pull
- Use this option if your streaming software generates HLS output links
- Provide us with the HLS link, and we’ll retrieve your live data
- Security can be implemented using a username-password combination
RTMP Pull
- Use this option if your streaming software generates RTMP output links
- Give us the RTMP link, and we’ll extract the live data
- Security can be enforced using a username-password pair
RTMP Push
- Use this option if your streaming software can stream via RTMP protocol to our pre-generated link
- We’ll provide you with the link, and you’ll broadcast your live data into it
- Additional security can be added by limiting the allowed IP address range by setting up a CIDR block value
ZIXI Push
- Use this option if your streaming software can stream through ZIXI protocol to our pre-generated Zixi connection
- We’ll give you the IP address, port, and stream ID to stream into
- Additional security can be added by limiting the allowed IP address range by setting up a CIDR block value
SRT Listener
- Use this option if your streaming software can stream through SRT protocol to our pre-generated SRT connection
- We’ll provide you with the IP address and port to stream into
- Additional security can be added by limiting the allowed IP address range by setting up a CIDR block value
SRT Caller
- Use this option if your streaming software can stream through SRT protocol
- Provide us with your IP address and port, and we’ll retrieve your live data
Livestream Connection Creation
You can create a Livestream connection on the dedicated page found at: glomex Exchange → Menu → Manage → Livestream connections https://exchange.glomex.com/manage/livestream-sources

The creation process for each livestream connection follows the same form with different fields depending on the selected strategy. Below are the creation forms and descriptions of the fields for each type.
HLS Pull Connection
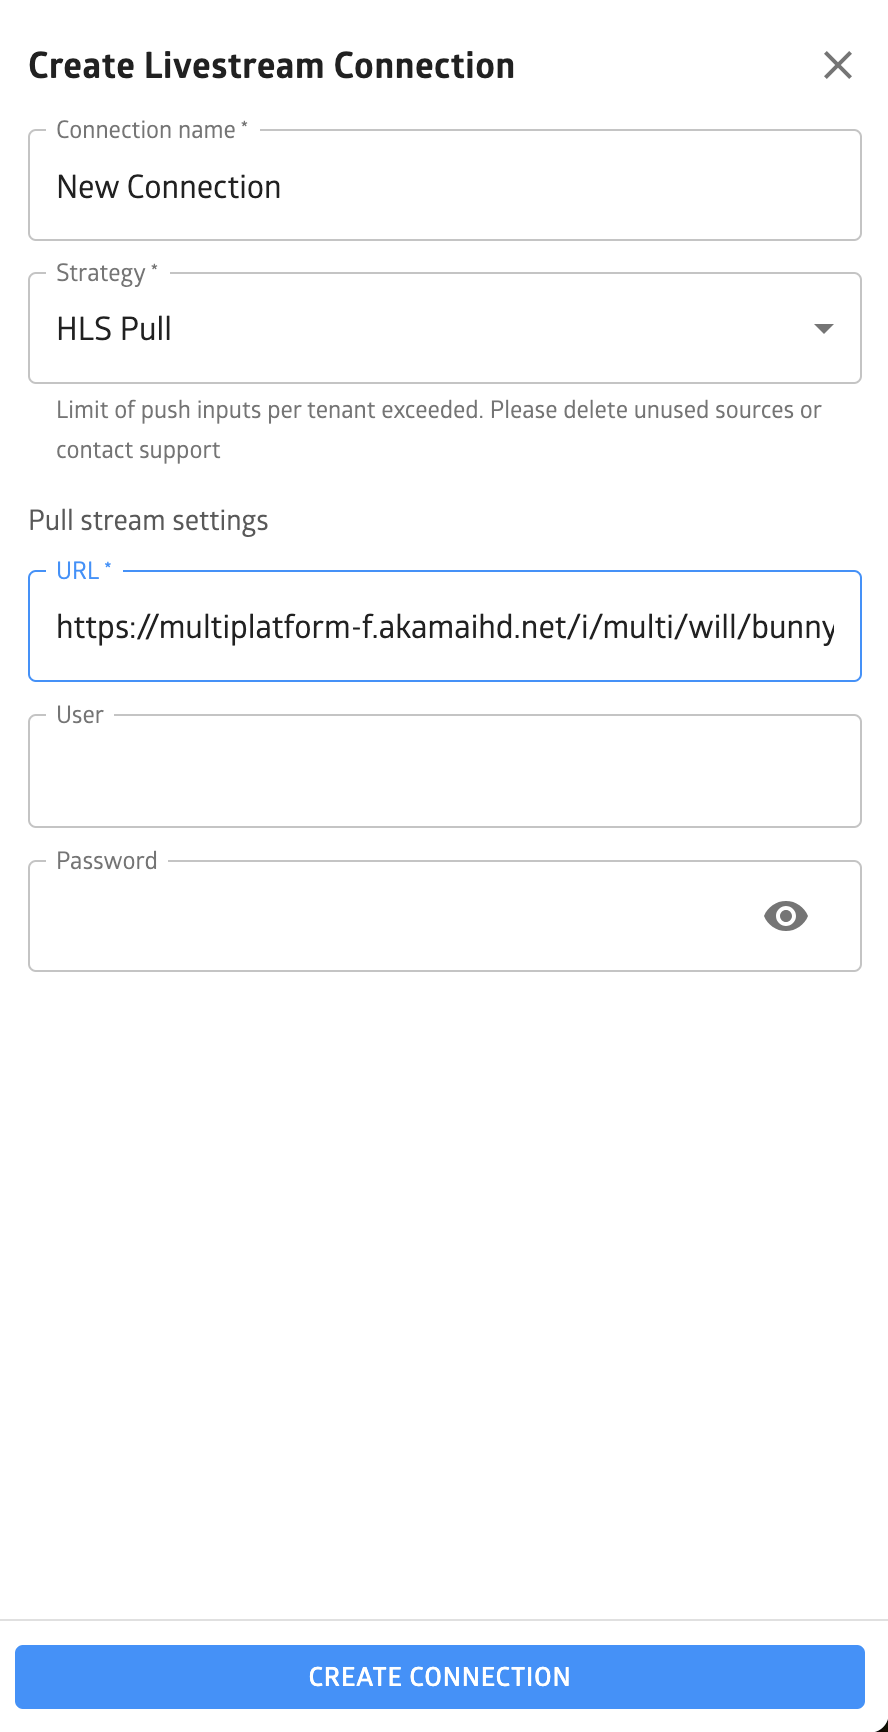
When you select HLS PULL as the Strategy during livestream connection creation, you will see this form. You must fill in at least the URL for the main livestream (Livestream A URL) and optionally provide username and password if required.
Fields description:
- Connection Name*: The name of the livestream connection to distinguish it from others
- Livestream A URL*: The URL to the HLS output your software is generating
- Livestream A User: (Optional) If your HLS output is secured by username+password, enter the username here
- Livestream A Password: (Optional) If your HLS output is secured by username+password, enter the password here
RTMP Pull Connection
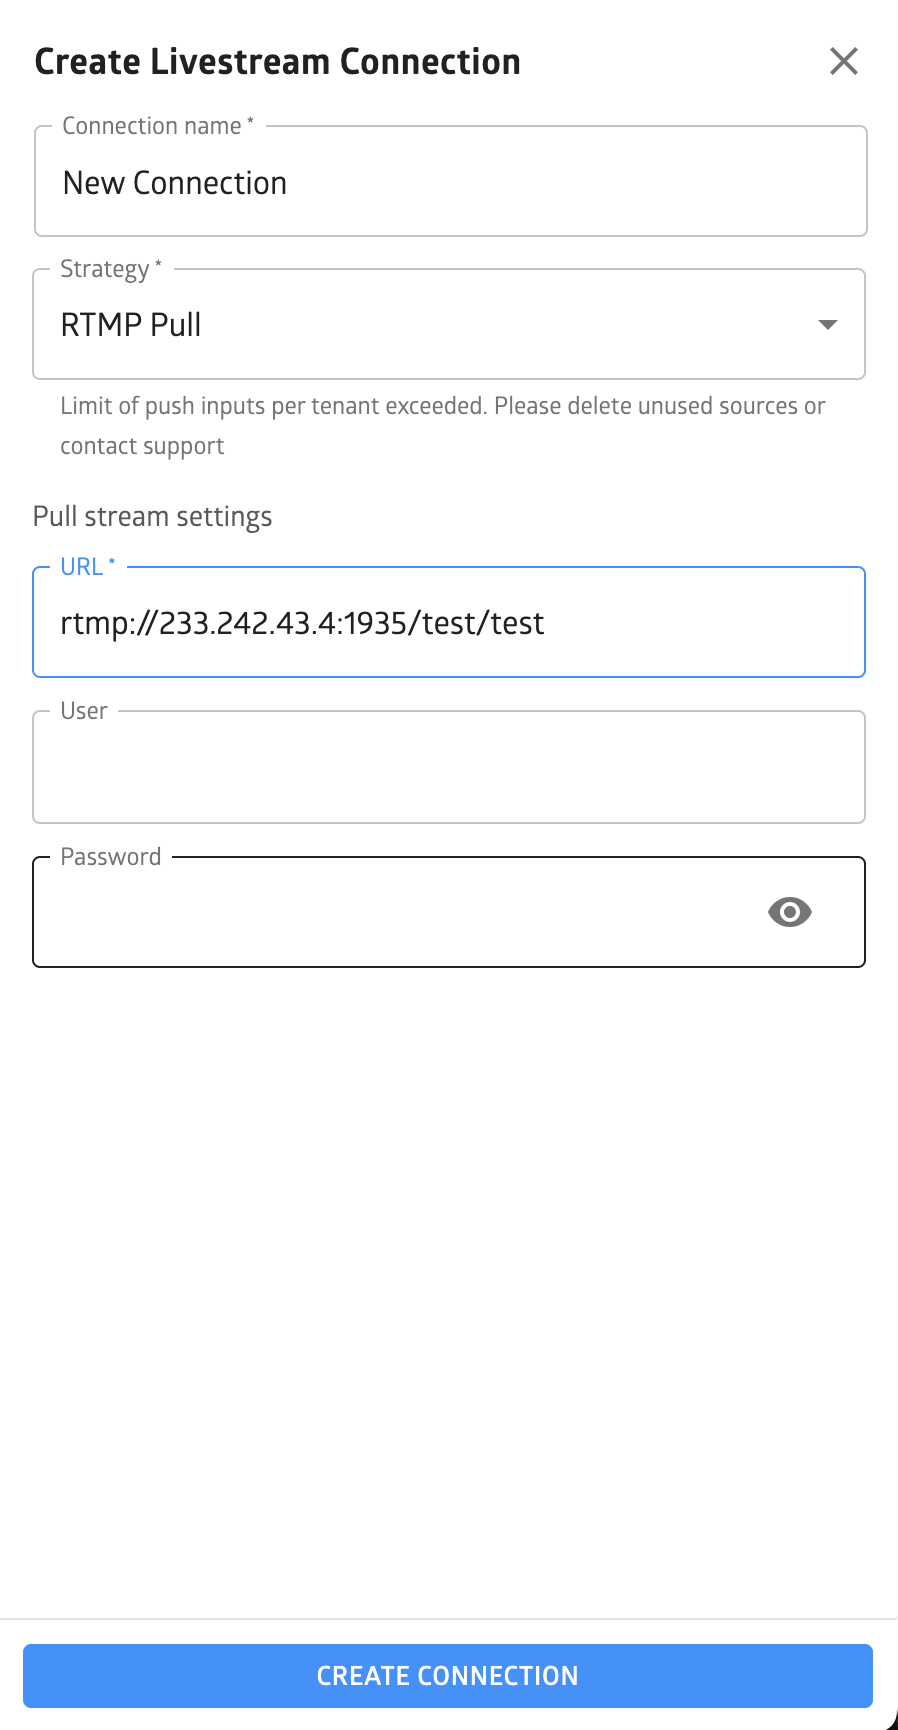
Fields description:
- Connection Name*: The name of the livestream connection to distinguish it from others
- Livestream A URL*: The URL to the RTMP output your software is generating
- Livestream A User: (Optional) If your RTMP link is secured by username+password, enter the username here
- Livestream A Password: (Optional) If your RTMP link is secured by username+password, enter the password here
RTMP Push Connection

Fields description:
- Connection Name*: The name of the livestream connection to distinguish it from others
- Private Stream: (Optional) Check this if you want to secure input by restricting the range of IP addresses
- Security Group CIDR Block: (Optional) Available only when “Private Stream” is checked; allows you to input a CIDR block for IP address range (default is 0.0.0.0/0)
ZIXI Push Connection
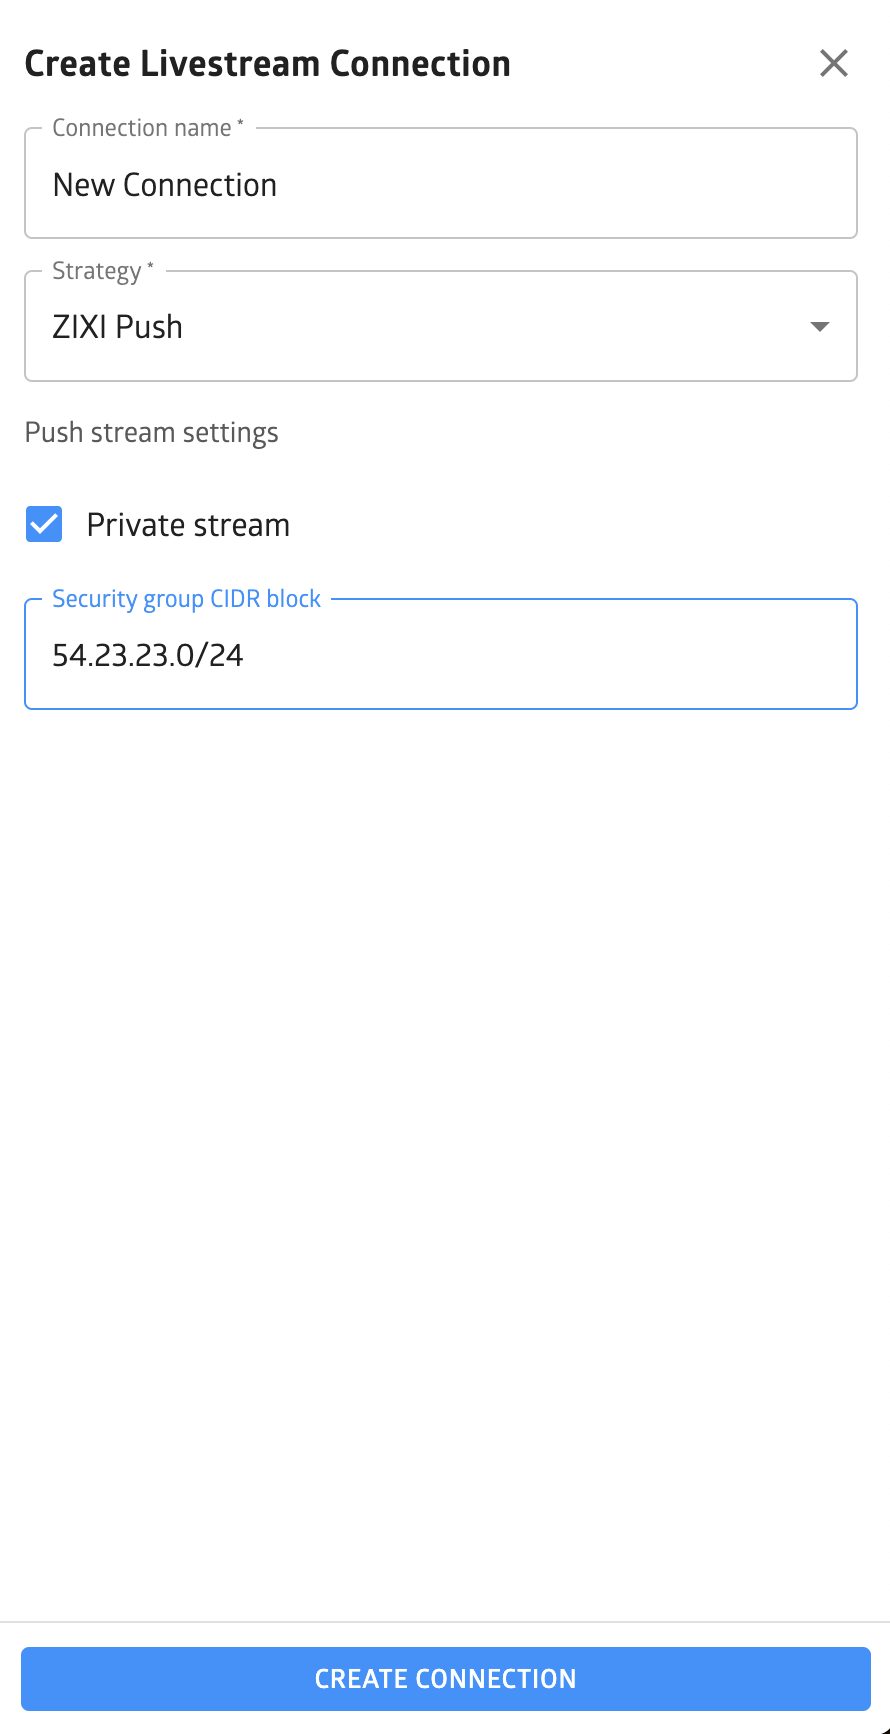
Fields description:
- Connection Name*: The name of the livestream connection to distinguish it from others
- Private Stream: (Optional) Check this if you want to secure input by restricting the range of IP addresses
- Security Group CIDR Block: (Optional) Available only when “Private Stream” is checked; allows you to input a CIDR block for IP address range (default is 0.0.0.0/0)
SRT Listener Connection
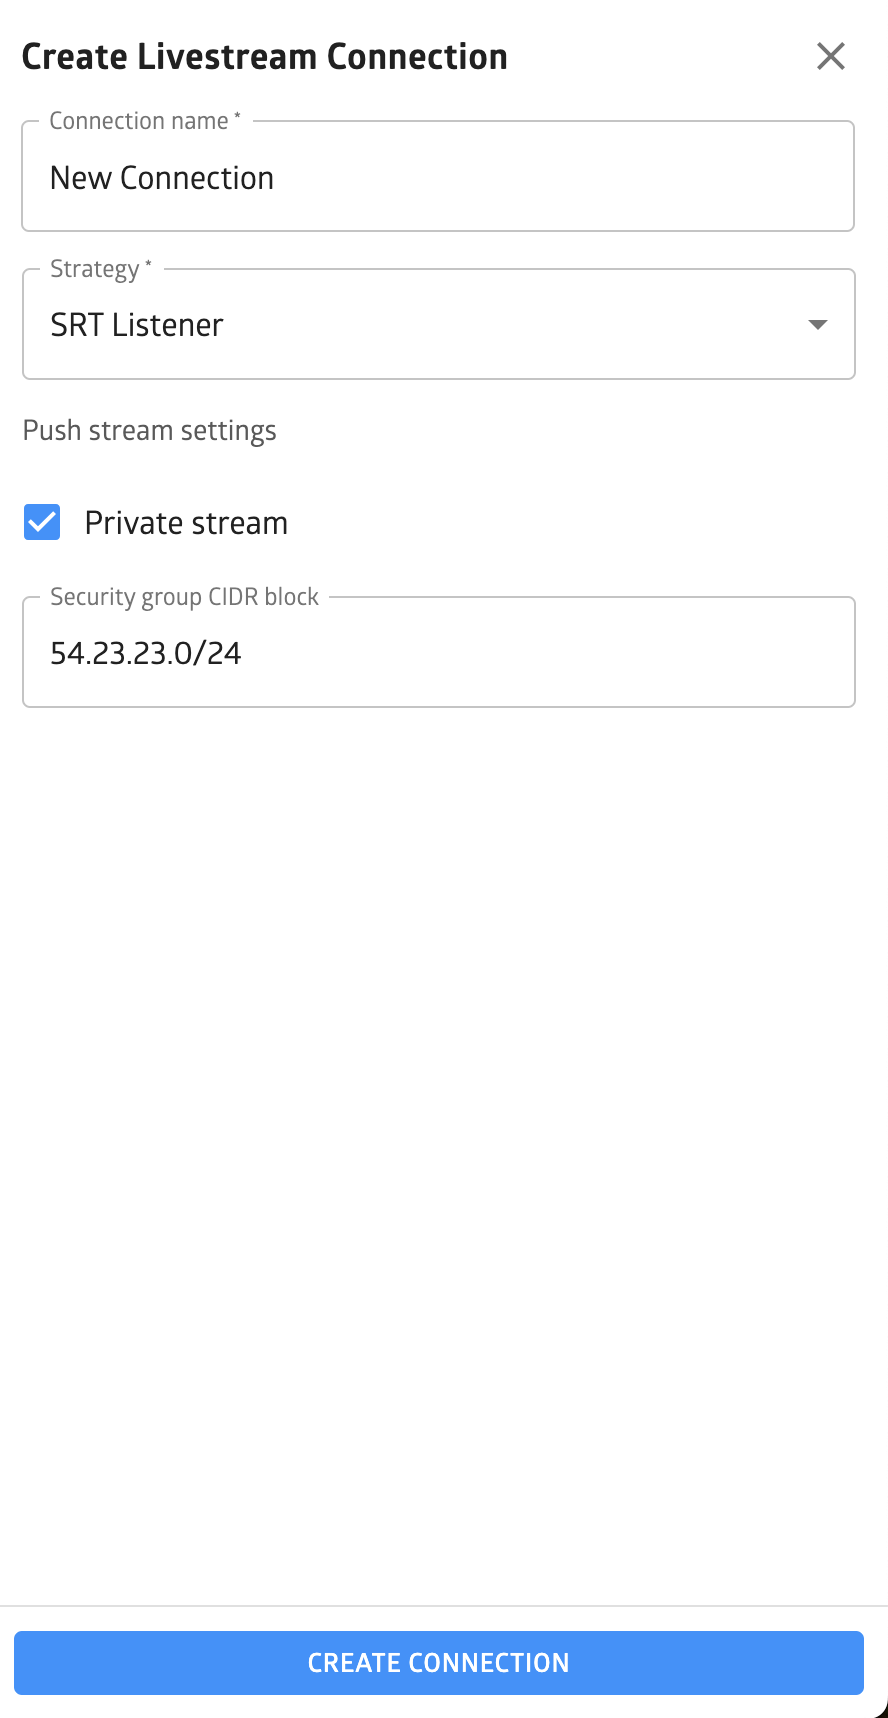
Fields description:
- Connection Name*: The name of the livestream connection to distinguish it from others
- Private Stream: (Optional) Check this if you want to secure input by restricting the range of IP addresses
- Security Group CIDR Block: (Optional) Available only when “Private Stream” is checked; allows you to input a CIDR block for IP address range (default is 0.0.0.0/0)
SRT Caller Connection
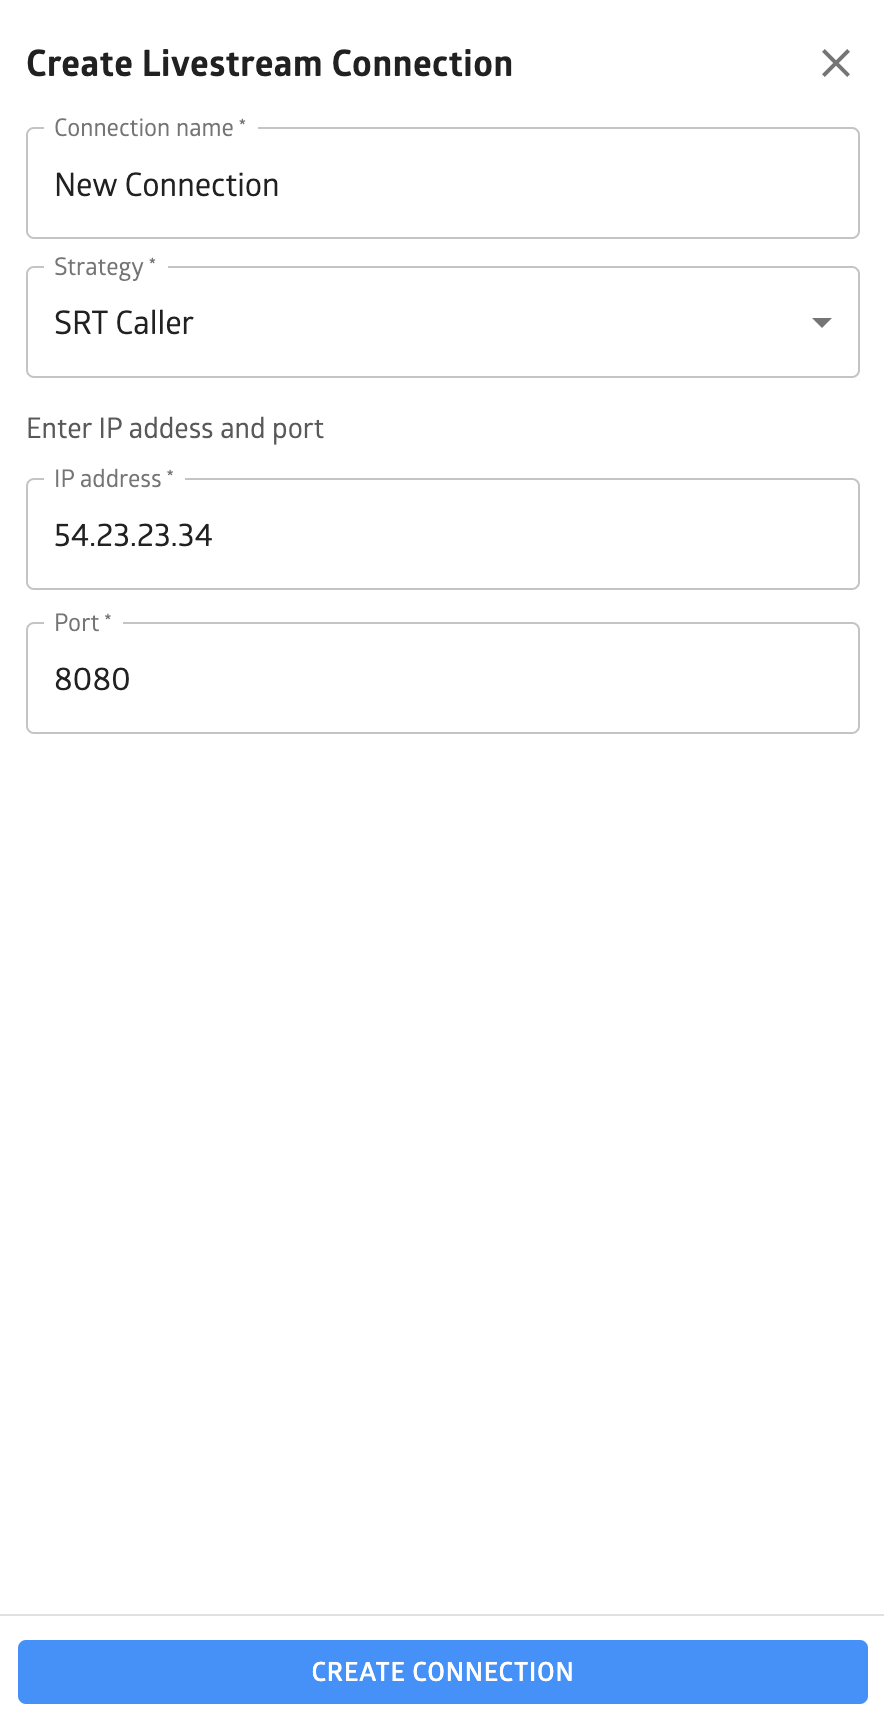
Fields description:
- Connection Name*: The name of the livestream connection to distinguish it from others
- IP Address*: IP address of the SRT connection
- Port: (Optional) Port of the SRT connection (default is 8080)
Editing Livestream Connections
You can edit any existing livestream connection when there are no active livestreams using it. While it’s not possible to change the livestream connection type, you can modify all other fields.
Livestream Connection Limitations
We limit the number of push inputs (RTMP push, ZIXI push, SRT listener) to 5 per tenant. We recommend deleting unused livestream connections.
Livestream Creation
Step 1: Fill the Livestream Creation Form
To create a livestream:
- On Exchange, go to “My media” and click on the triangle next to “Upload video” and select “Livestream” (or simply open https://exchange.glomex.com/my-media/livestream )
- Select or create a livestream source
- Fill in the livestream-related fields
- Fill in metadata fields (these are the same as for regular video-on-demand)

Livestream Fields
| Field | Description |
|---|---|
| Livestream Connection* | Select the livestream source to use for this livestream |
| Livestream Start Date | Scheduled date of livestream start |
| Livestream Start Time | Scheduled time of livestream start (we will start all needed infrastructure 5 min before the scheduled time) |
| Livestream End Date | Scheduled date of livestream end |
| Livestream End Time | Scheduled time of livestream end |
Metadata Fields (same as for regular videos)
| Field | Description |
|---|---|
| Title* | The title of the video |
| Description (Recommended) | The description of the video (used for search results and automated recommendations) |
| Keywords (Recommended) | The keywords of the video (used for search results and automated recommendations) |
| Categories* | The categories of the video |
| Channel* | The name of your channel in which the video should be published |
| Show | The name of the show or program title |
| Language | The language of the video content |
| Licensing Territories | The countries in which the video should be allowed to play |
| Age Ratings | The age ratings of the video content |
| License Profile | Selected License Profile (if allowed for your user) |
| Start Date | The release date of the video (the video will be activated on this date) |
| End Date | The expiration date of the video (the video will be deactivated on this date) |
| Product Placement | Describes if the video contains product placements |
| Record Stream | Save livestream after it is finished into regular Video-on-Demand |
| DRM | Livestream will be encrypted with DRM encryption as well as Recording (if checkbox “Save Recording” enabled) |
Step 2: Manage Your Livestream
After creating a livestream, you can manage it from the video card in “My media”:
You can edit both livestream-specific fields and video metadata fields until the livestream starts.
Once a livestream has started, you can only edit video metadata fields, not the livestream-specific fields.
After the livestream is finished, you can only edit video metadata fields:

Stopping a Livestream
If your livestream finishes earlier than planned, you can stop it by clicking the “Stop” button on the video card.
After stopping a livestream, it cannot be restarted. You would need to create a new livestream.